Tag: life

Stop Hiding Your Best Candy

As a customer standing in front of the candies you sell, I am able to look at how big your candy box is. I am able to examine all of the colors. I am able to take a peek inside your candy box. As an online purchaser, I will not be able to perform these actions. This means that I need to be able to rely on the photographs provided.
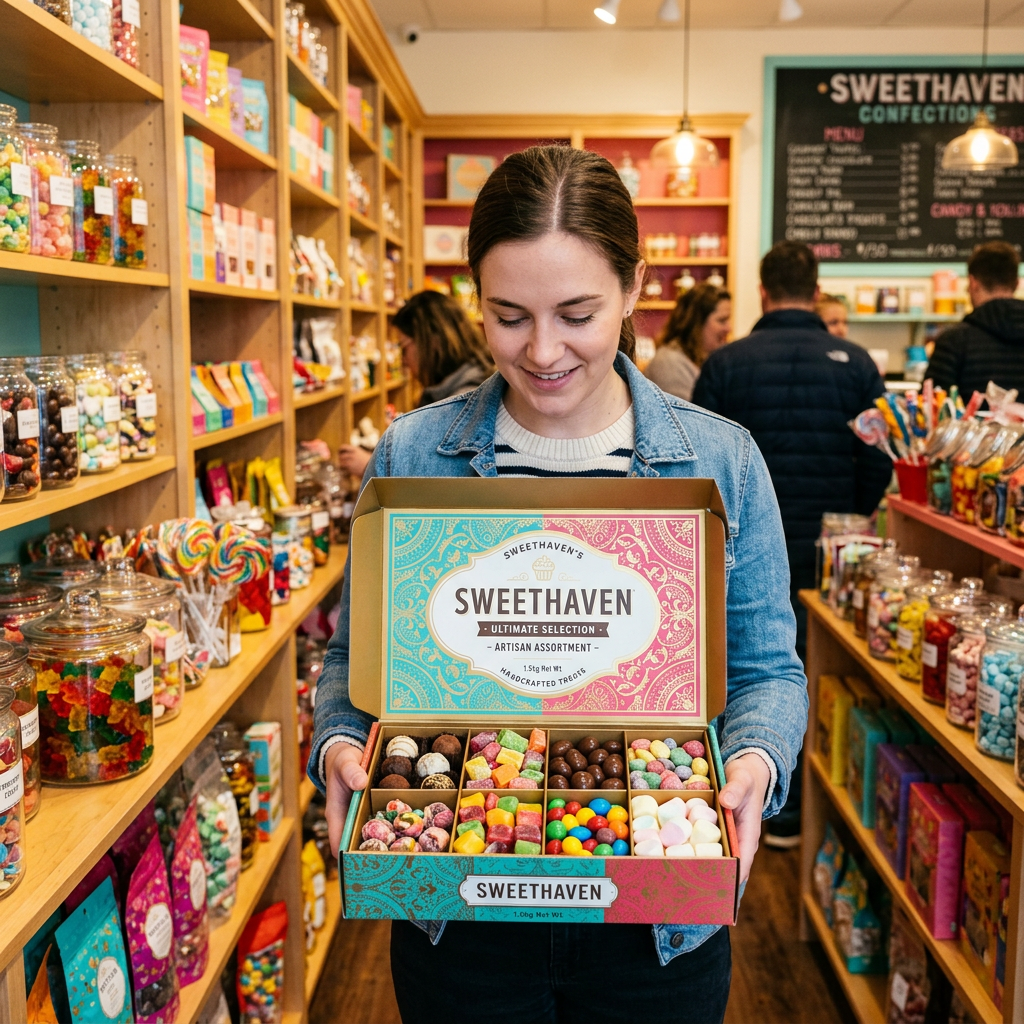
Woman holding an open SweetHaven box filled with assorted candies
A shopper proudly presents a colorful SweetHaven assortment inside a charming candy store.

Photographs can provide information (like how much candy is actually inside) that my hands and eyes would normally. Photographs also provide other visual representations (such as a visual representation of size). 


I want you to take your best shot at being able to get me interested in choosing which candy box to buy BEFORE YOU TAKE THE PHOTOGRAPH OF THAT BOX. Be sure to check the corners of your candy box. Clean the window of your candy box. Straighten out any crooked labels on your candy box. Remove any dust. Make sure you fill your candy box just like the way the person who purchases it will receive it. A photograph may appear beautiful; however, it should NOT represent more candy than the individual has ordered.

Place your table near a brightly lit window. Most soft daylight provides good color representation, free of the yellowish or bluish tints created by lighting in many homes. Turn off any lamps so that the soft daylight does not combine with the artificial lighting. If the sunlight creates too harsh a bright spot in your photograph, place a thin white curtain over the window or move your table back far enough from the window.

The background of a photograph should be simple. Use white paper, light-colored wood or a small piece of fabric. Choose something that allows for easy viewing of the product. For example, if you put a white candy box on top of a white wall, you might lose sight of the packaging. On the other hand, using a black candy box on a dark colored table may cause the packaging to blend right into the table. The edges of each part should be clearly defined.

You should take more than one photograph of your candy boxes. One photograph should show the candy box as closed. Take another showing the candy box as opened. After opening the candy box, take another photograph of only the candy. Include one additional photograph that helps buyers understand the size of the candy box – perhaps holding it in their own two hands. Buyers should not have to wonder if it is extremely small or relatively large.
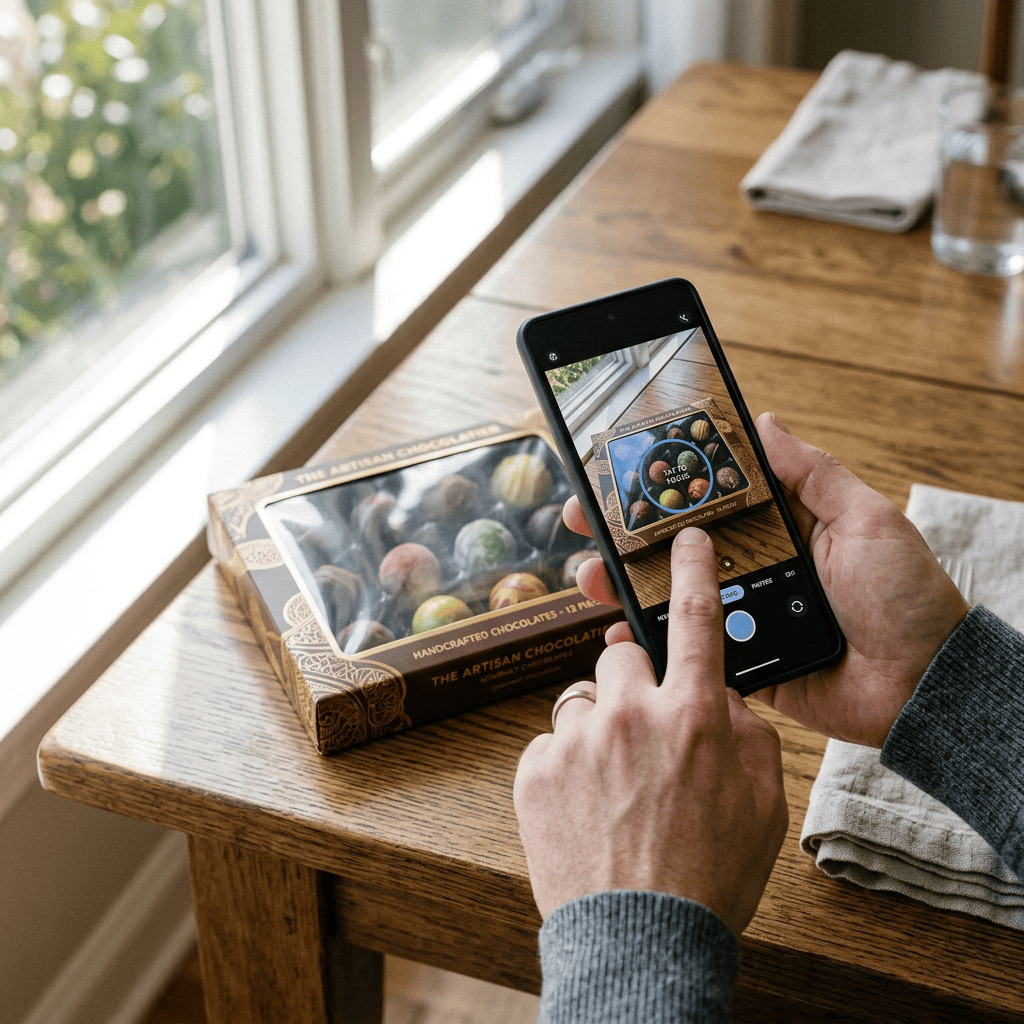
Hands photograph an artisan chocolate box labeled “THE ARTISAN CHOCOLATIER” with a smartphone.
A smartphone captures the colorful artisan chocolates resting on a sunlit wooden table.

Glare from the transparent window can occur. Simply slide your box forward slightly or angle your phone until the bright mark leaves the area where your candy is located. Avoid using flash on your phone since it will likely bounce off any smooth film. Before taking a photograph, tap on the box with your finger to allow the camera to determine its focal point based upon your selection.

When editing your photographs, be truthful regarding the colors of products shown. While changing brightness or clarity may help, extreme filter changes can alter how items such as chocolate, ribbons or printed paper look compared to actual items. Such alterations may result in disappointment once items arrive at their destination.

Crop all photographs to maintain consistent shapes and eliminate empty space which adds nothing to your photographs. Write a few words describing each photograph so that individuals using screen readers know what they are seeing. “Open Red Candy Box with Twelve Chocolates” is more helpful than “Candy Photo.
Make Candy Boxes Easier to Open

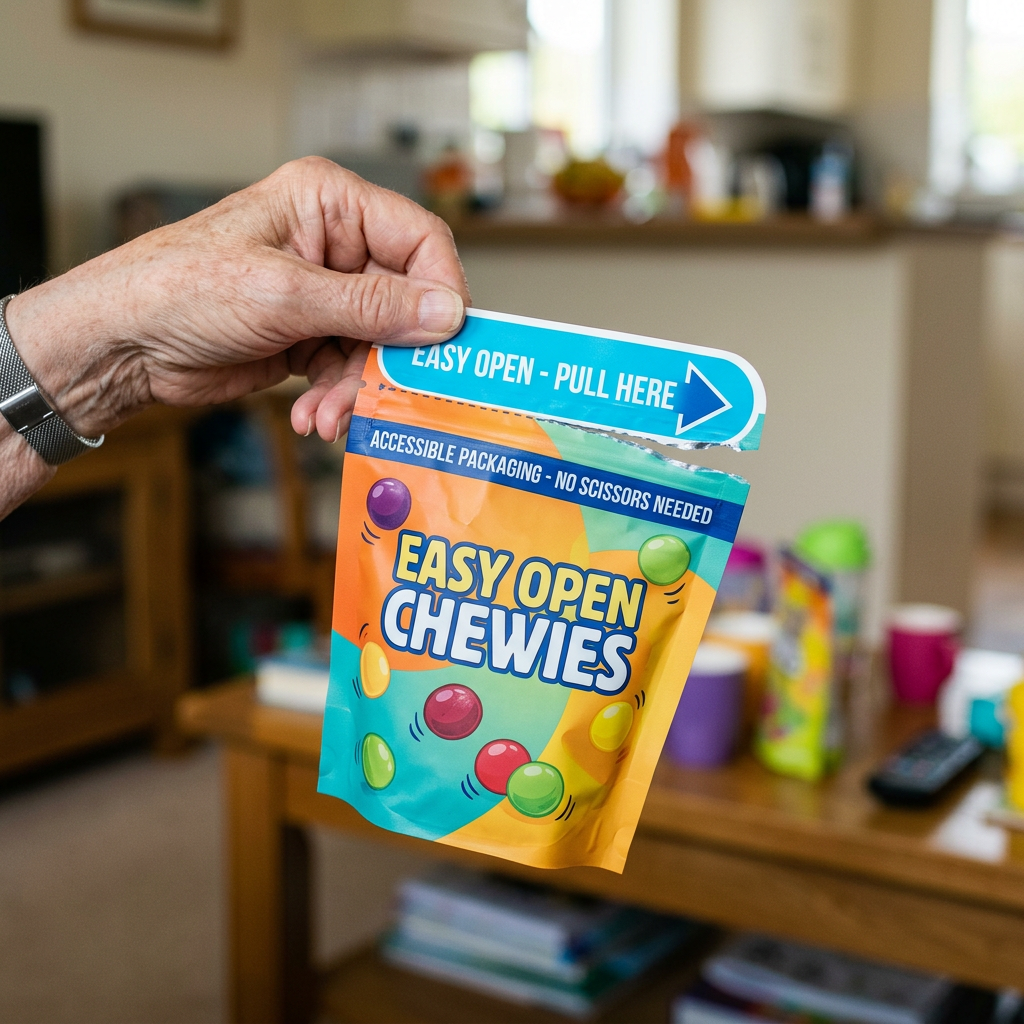
You could wrap your candy in beautiful paper and create a nice problem for yourself if you put a tight-lid on it. Some customers are going to have difficulty opening some types of candy because their hands will hurt; they’ll have weak finger muscles; they won’t be able to see well; or they won’t have a good grip. Additionally, many customers will need to open packages holding children. Candy boxes should protect what’s inside but should never make the customer feel like he has to “unlock” the candy. Helping many more customers enjoy treats is easier if there’s an easier way to open these containers.

Hand holding colorful Easy Open Chewies pouch labeled accessible packaging
A hand holds an easy-open Chewies candy pouch designed without scissors.

Begin by thinking about the relationship between the lid and the base of the container. The lid may look great when you’re handing it over to the customer, however, this may prevent them from pulling the lid off the container. On the other hand, a lid that’s too loose will come off very quickly when pulled. The ideal connection (the lid fits perfectly onto the base) remains closed during handling and comes off easily with a slow, consistent pull. A series of sample testing reveals problems that cannot be seen using only drawings.

Adding tabs, thumb cuts, and/or wider areas to aid in gripping provide the customer a clearer location to begin opening. However, adding a ribbon provides an additional method for lifting lids and requires careful placement. Do not include elements that require nail sharpening or significant pinching. If adhesive tape or labels seal the package, leave a portion of the area that allows the customer to lift the seal without cutting.

The type of finish used on the surface affects how easily customers can grasp the box. Glossy surfaces may slip out of dry hands whereas a light textured surface will provide a better grip. Darker colors may also obscure the distinction between the top and bottom. Using a distinct color change around the opening may help customers locate where to pull on a dull day.

Test the sealed filled box using both hands and again using one hand while wearing thin rubber gloves. Test each prototype with customers of all ages and ask them to attempt to open the container without showing them how. Observe which part of the box they first reach toward, how long they hesitate before attempting to open it, and whether they rotate the box to determine where to pull. These actions typically indicate more information than simply asking the customer questions after the trial.

Easily accessible packaging does not mean the packaging is weakened. The candies must continue to be contained once moved or sold. Any modifications made should be tested under full load conditions. Hold the closed container upside down and shake it back and forth. If the lid moves around, make adjustments based upon your findings and repeat the testing process.

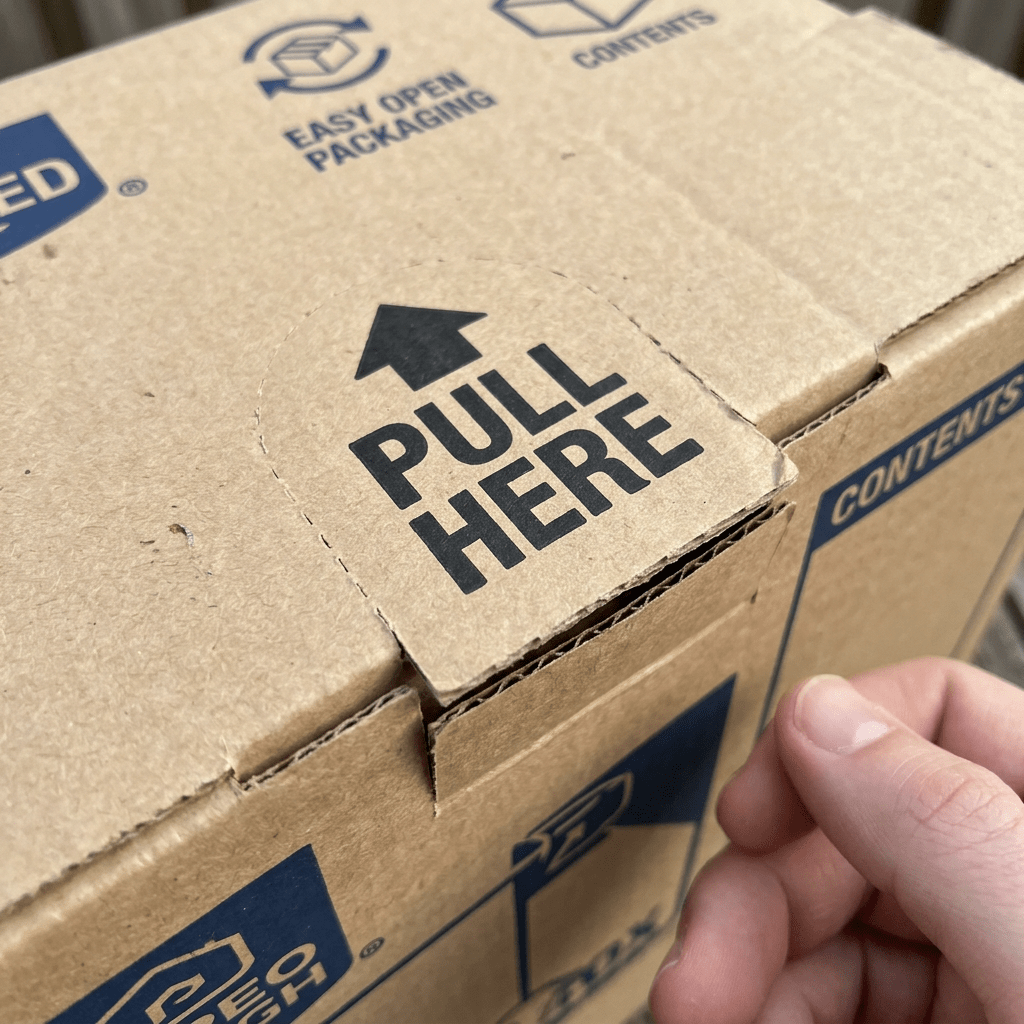
Hand pulling a cardboard box tab labeled “PULL HERE”
A hand pulls the perforated tab on a cardboard box marked “PULL HERE.”

If necessary, providing instructions can assist customers who find it difficult to identify where to pull. It may take just a couple of short phrases such as “pull here” to allow the customer to understand where to start. When creating instructions use large print lettering so customers can easily read them and position them adjacent to the component that moves. Your objective is not to place a plethora of instructions on the packaging, but rather eliminate the single area in which a customer becomes stranded.

When considering thoughtful packaging options for candies, we should not focus solely on assisting older adults or those with disabilities. The new packaging designs should be equally accessible for all consumers without drawing attention to either their age or disability. The design should clearly show where to pull to gain entry into the container; be securely fastened until desired; and allow customers to access their treats with minimal effort. This modest consideration can convert packaging from a hindrance into a useful tool for facilitating sharing among all consumers at the table.

The purpose of Heavy Duty boxes 

Maybe you’re looking to ship stuff that’s bulky, valuable, or super heavy. Heavy duty boxes are about to become your best friend. They aren’t just the same old boring cardboard boxes, but they’re superheroes, ready to take over the shipping world.   Here, we’ll go into the heavy duty box world, and why they’re ideal for packaging.

 The lowdown of Heavy duty Boxes 

Now that you know about their presence, you might wonder a little bit about them, and why they’re special. 

First, it’s the material. Most of them are made with corrugated fibers, which offer the supreme combination of both strength and a lightness that comes with the fluted inner lining. So also throw in there the mailer boxes that are heavy for you to use, and they usually come with two layers of corrugated options there. so it can literally withstand all that comes its way, sometimes literally too! 

They are versatile as well. There are tall boxes that are good for those heavy, long items such as that priceless vase or sculpture that you buy.   There are also boxes for books, which are good for those heavy books that would tear a hole in your stuff.  Heavy duty options are all around, and the beauty of these is that they do have a range.   Whether it’s an art tube that’s large, to protect all of the rolled items that are in there, or poly shippers to help with softer goods, there is literally a size for these heavy mailers that will help you.

Why Heavy Duty boxes 

There’s a lot of reasons to use a heavy duty box that we will go over here 

First, is the protection. It isn’t just the outside that matters. There’s options for layers of different protection, such as the kraft bubble mailer within the heavy duty box. The items become almost a true fortress that cannot be shaken. This is vital for those fragile and high-ticket items that can’t be thrown into just any sort of box.

They are also sturdy, and stackable. Think about the warehouse space that’s precious for the goods that are stored. Some of the heavy-duty boxes are designed to be further stacked high, without risk of collapse, due to the structural integrity that’s there.   This also means more room and place for your products, so you’ll worry far less about the catastrophes that come with boxes. 

Finally, there is longevity that comes with this. In our world, sustainability is a nice idea, but you want to make sure that you use that in your shipping. Heavy duty boxes do just that. 

They’re not just one and ones for packaging, but you can use these for a lot of different uses, and that’s what’s great about them. 

The gamut of Heavy duty Boxes 

Now it isn’t just a regular box for shipping a TV. We’ve got a lot of different heavy duty boxes for you to consider. 

They include: 

  • The corrugated shipping boxes, which are all-arounders that are good for all your shipping needs. They’re lightweight, durable, and also easy to customize 
  • Double walled boxes, for when you’ve got to have a little bit of extra protection, ideal for heavier, and far more fragile types of items. 
  • Large art tubes, perfect for posters artwork, and anything that’s long and requires more protection from the bending 
  • Literature mailers for any books and documents, which protects while keeping stuff organized 
  • Tall boxes, which are good for well, tall items and offer protection at all heights too. 

Your Candy Boxes Might Be Losing You Money

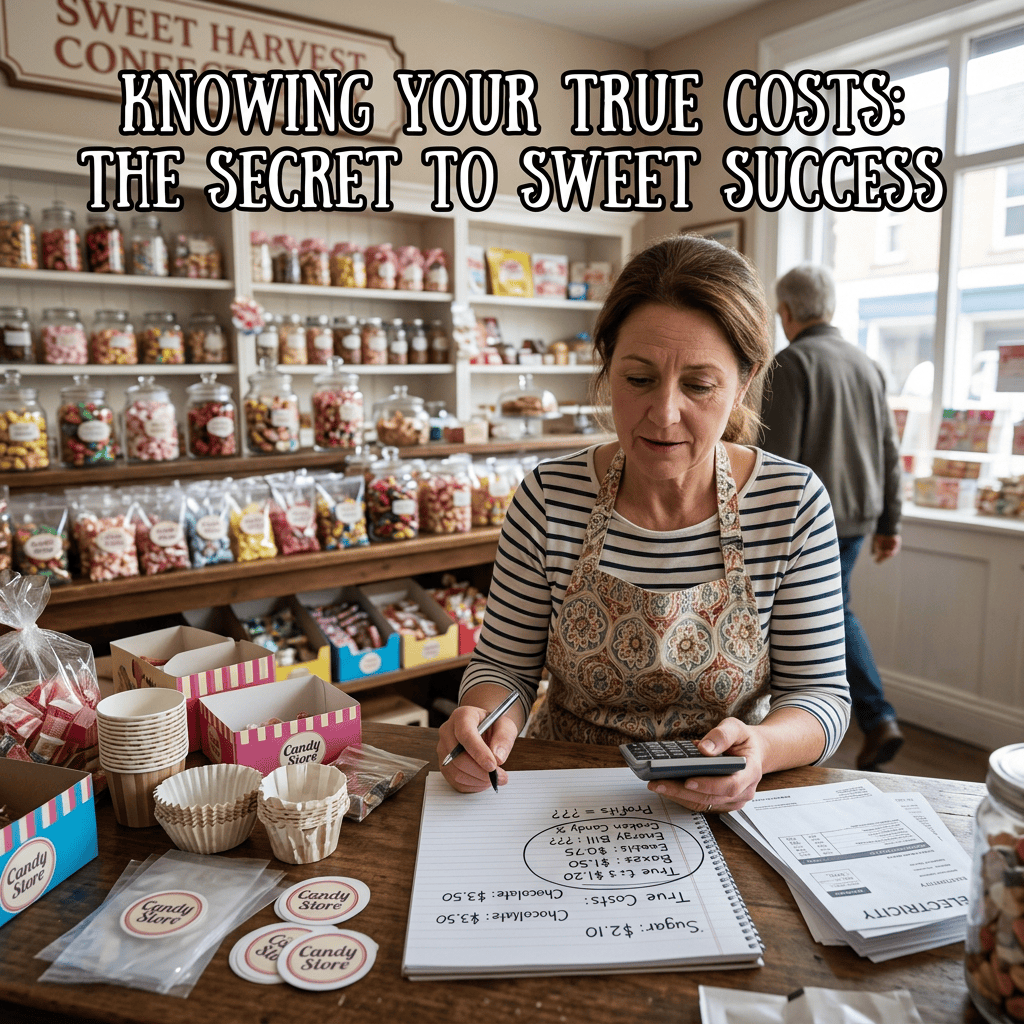
You could make money at a candy store all year round, but if you don’t have an idea of what your true costs are, you’ll probably make almost nothing. Maybe it’s not even the candy itself. Even if you charge enough to cover the cost of the sugar and chocolate, you may still lose on packaging. Paper cups, candy boxes, labels, energy (electricity), broken pieces of candy – there are a lot of costs besides just the candy. Once you know what your true costs are, you can start turning your job into a successful business.

Knowing Your True Costs: The Secret to Sweet Success; candy shop owner calculating costs at a counter
A candy shop owner calculates product costs while planning for sweet business success.

Take one order of candies and write down everything that was spent on each ingredient. Small items like flavoring, nuts, oil and decorative items should also be included. Don’t include the entire cost of something (such as a large bag) simply because you only used some of it. Divide the total cost of the item by the portion used so the cost remains proportional to the usage.

After writing down all of the costs for this order, now find out how many individual pieces of candy were made. Do not include broken pieces of candy; test pieces; or pieces of candy that were sampled. Since you know how much it cost to produce this order ($30) and how many pieces of candy fit to sell (100), now calculate the cost per piece of candy prior to packaging. For example, since each piece of candy has a cost of 30 cents prior to packaging, a box containing 10 pieces would contain $3.00 worth of candy.

Costs associated with packaging belong in the calculations. In addition to the candy box and cup, you must consider other costs such as pads, ribbon, stickers, printed cards and any outer bags used for sales. Although a few cents might seem insignificant to track, multiple small items can equal more than a dollar. This lost dollar can become thousands of dollars over the course of numerous orders.

There is another expense that sellers commonly overlook — time. Determine how long it took to prepare, cook, cool, sort, pack, seal, and clean up after completing one order. Next, choose a reasonable hourly wage based upon your desired compensation. Finally, divide this hourly wage by the number of completed boxes to determine if a specific cost related to a box (i.e., a fancy bow or handwritten label) has taken longer than what you believe customers will pay for.

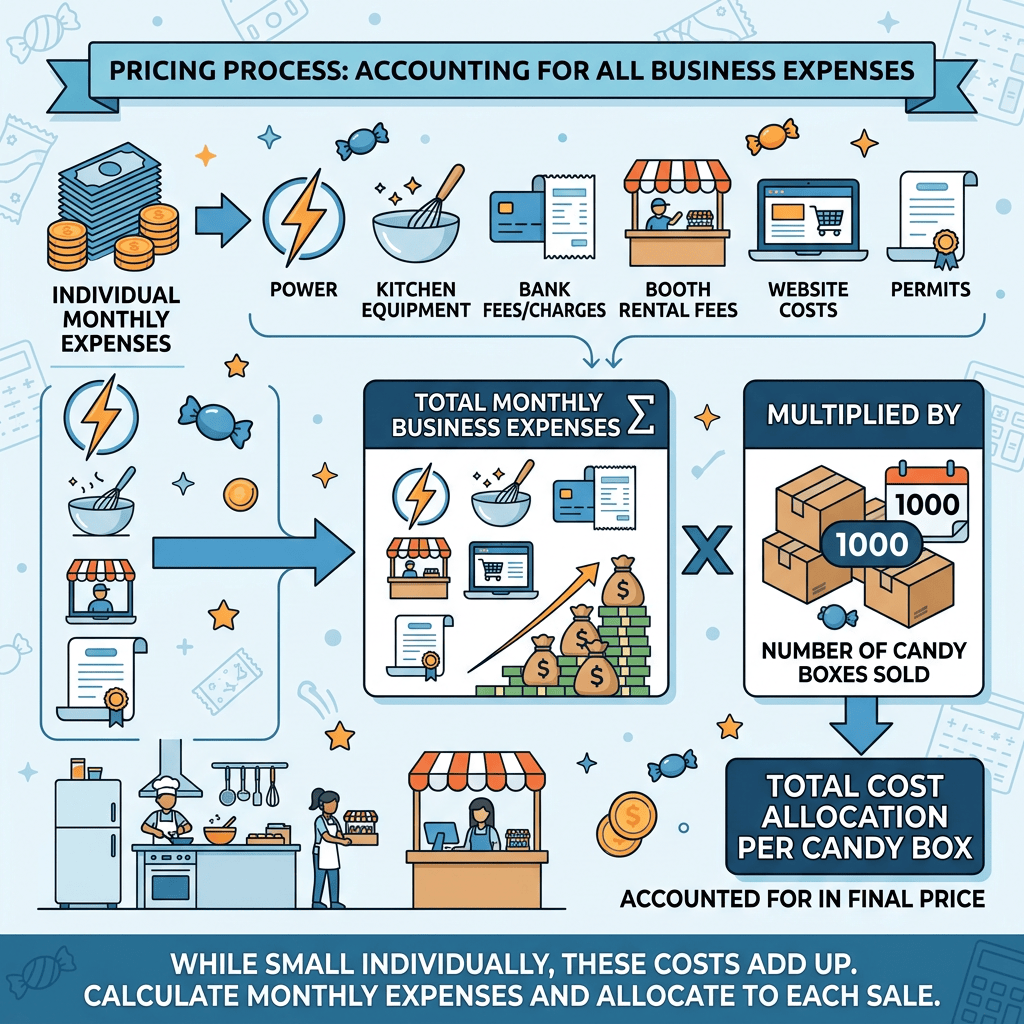
Infographic text: “PRICING PROCESS: ACCOUNTING FOR ALL BUSINESS EXPENSES”; individual monthly expenses include power, kitchen equipment, bank fees/charges, booth rental fees, website costs, and permits; total monthly business expenses multiplied by number of candy boxes sold equals total cost allocation per candy box, accounted for in final price; “While small individually, these costs add up. Calculate monthly expenses and allocate to each sale.”
An infographic shows how monthly business expenses are calculated and allocated across each candy box sold.

All business expenses that benefit each sale (power, kitchen equipment, bank fees/charges, booth rental fees at markets, website costs and permits) need to be accounted for in the pricing process. While these costs may be small individually, they can quickly add up. When accounting for these costs you must multiply them by the number of candy boxes sold during a month.

Now combine the total cost for candy, packaging, labor and shared business expense for one box. This is referred to as your “break-even” point (not your selling price). To maintain profitability and provide funds to replace tools and equipment and account for slower sales periods you must add a markup to exceed this break-even point. There isn’t a standard mark-up for all shops since local buyers and quality of product vary greatly.

Finally, review your final price compared to those similar treats being sold within the same general area. Is your price significantly higher than others? If so, you likely use better ingredients, give customers larger portions or provide a unique service to justify this increased price. On the other hand, if your price is lower than comparable products sold near you it may indicate that a cost was left unaccounted for. Re-evaluate your calculation when suppliers increase prices on supplies. Accurate records enable sellers to establish fair pricing and clearly communicate with consumers regarding quantity discounts or special promotions and gifts given away at community events without unknowingly damaging their personal financial income.